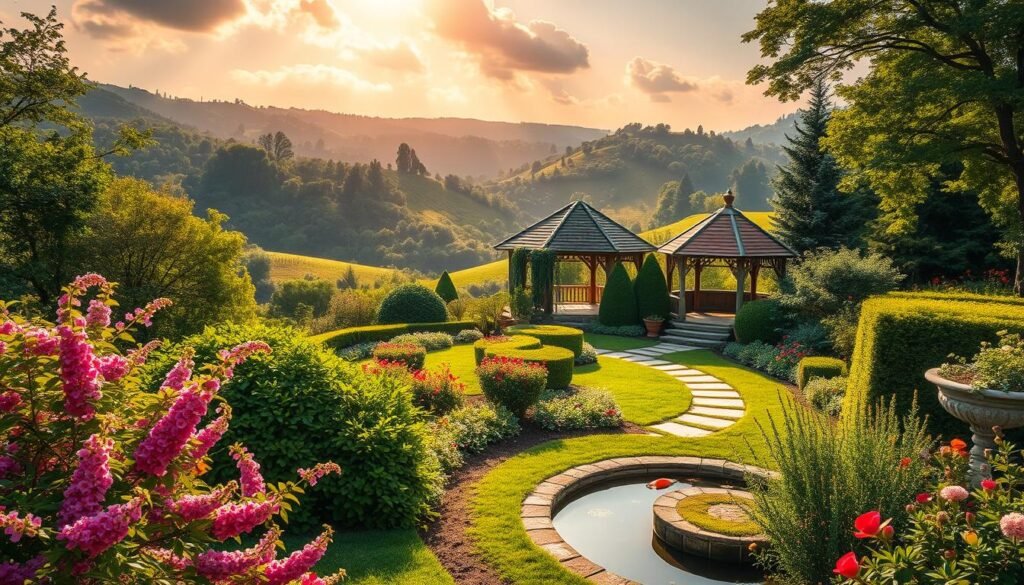
Three years ago, I decided to transform my outdoor space into something truly special. What started as a simple project quickly became a passion. I wanted a yard that was not only beautiful but also functional for my family and friends to enjoy.
I began by adding curvy borders with steel edging and river rocks. These borders not only defined the space but also added a touch of elegance. I chose drought-tolerant plants like day lilies and dianthus to ensure my garden thrived year-round. Hawthorn trees provided shade and a natural focal point.
One of the biggest challenges was balancing aesthetics with functionality. Our backyard sees a lot of foot traffic, so I needed a design that could handle it. The result? A cohesive and inviting space that increased our home’s curb appeal and property value.
This journey taught me the importance of thoughtful planning and creativity. Whether you’re starting small or dreaming big, your outdoor space can become a personal sanctuary. Let’s explore how you can achieve the same.
Key Takeaways
- Curvy borders with steel edging and river rocks add elegance and definition.
- Drought-tolerant plants like day lilies and dianthus ensure year-round beauty.
- Hawthorn trees provide shade and serve as natural focal points.
- Balancing aesthetics with functionality is key for high-traffic areas.
- Thoughtful planning can significantly increase curb appeal and property value.
Transform Your Front Yard with Curb Appeal
Your front yard is the first impression of your home, so make it count. A well-thought-out plan can turn it into a welcoming space that reflects your style. Start by selecting the right plants and adding decorative borders for a polished look.
Choosing the Right Plants for Your Front Yard
When picking plants, consider their sunlight needs and growth patterns. For sunny areas, I recommend Russian sage and spirea. These thrive in full sun and add vibrant color. In shaded spots, hostas are a great choice.
For a mix of textures, I combined pink spirea with purple salvia near my porch. This pairing ensures continuous blooms throughout the summer. If you’re looking for shrubs, azaleas and boxwood hedges are excellent for structure and year-round greenery.
Adding Decorative Borders for a Polished Look
Borders define your space and add a finished touch. I prefer steel edging with rubberized tops. It’s durable and performs well in windy climates. For a budget-friendly option, concrete edging is also effective.
Here’s a quick comparison of border materials:
| Material | Pros | Cons |
|---|---|---|
| Steel Edging | Durable, wind-resistant | Higher cost |
| Concrete | Affordable, sturdy | Less flexible |
For a unique touch, I added a bird bath amid flowering shrubs. It serves as a focal point and attracts wildlife. To prevent weeds between pavers, I used dwarf mondo grass. It’s low-maintenance and adds a lush green look.
Create a Cohesive Backyard Landscape
Creating a cohesive backyard landscape starts with thoughtful planning and the right elements. It’s about blending functionality with beauty to craft a space that feels both inviting and personal. Whether you’re working with a small area or a sprawling yard, the right choices can make all the difference.
Using Native Plants for Low Maintenance
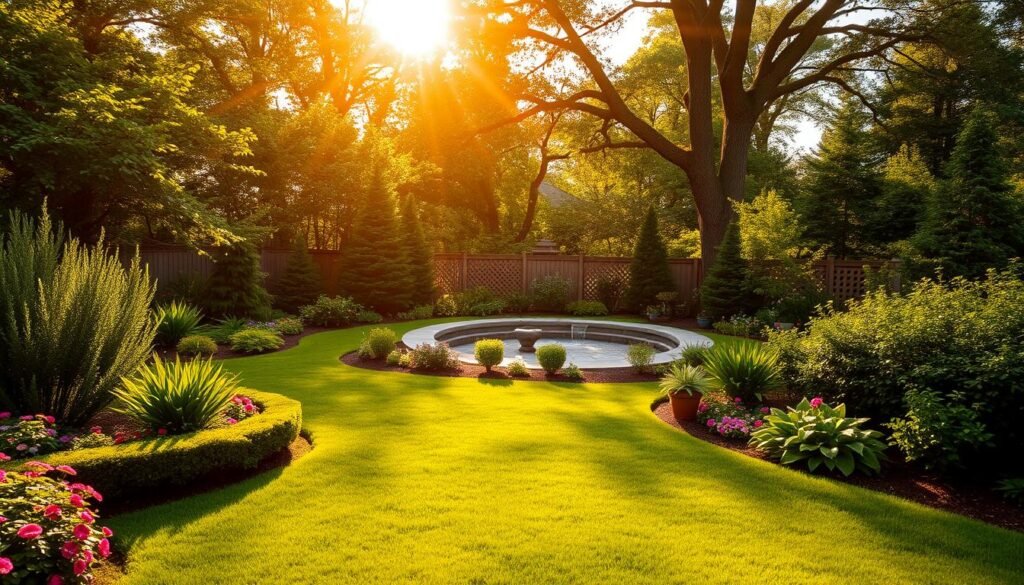
One of the best ways to keep your backyard thriving with minimal effort is by using native plants. These species are naturally adapted to your local climate, making them drought-tolerant and low-maintenance. In my Rocky Mountain yard, I’ve had great success with potentilla, salvia, and Russian almond.
Here are my top picks for drought-tolerant natives:
- Potentilla: Hardy and long-blooming.
- Salvia: Attracts pollinators and adds vibrant color.
- Spirea: Easy to grow and maintain.
- Russian Almond: Beautiful spring blooms.
- Hyssop: Aromatic and drought-resistant.
I also love using clematis on arbors. With proper care, it blooms from spring through fall, adding vertical interest and charm.
Incorporating Water Features for Tranquility
Water features can transform your backyard into a serene retreat. However, maintaining them can be a challenge. To avoid this, I leveraged a neighbor’s design and opted for a small, self-sustaining pond. It’s a great way to enjoy the soothing sound of water without the upkeep.
For a simpler alternative, consider rain lilies or crinum lilies. These plants thrive in moist conditions and add a touch of elegance. I’ve also placed large boulders strategically around the yard. They serve as natural seating areas and blend seamlessly with the surroundings.
By combining native plants with thoughtful water features, you can create a backyard that’s both beautiful and easy to maintain. It’s all about finding the right balance for your space.
Budget-Friendly Backyard Landscaping Ideas
Transforming your backyard doesn’t have to break the bank—here’s how I did it on a budget. By focusing on smart choices and DIY projects, I created a space that’s both beautiful and affordable. Let’s dive into some practical tips that can help you achieve the same.
Opting for Perennials Over Annuals
One of the best ways to save money is by choosing perennials instead of annuals. While annuals need to be replanted every year, perennials come back season after season. Over five years, I saved over $300 by planting spirea and salvia instead of annuals.
Here’s a quick cost comparison:
- Annuals: $50 per year x 5 years = $250
- Perennials: $100 initial cost, no replanting needed
Not only do perennials save money, but they also require less maintenance. I’ve found that spirea is particularly hardy and adds vibrant color to my backyard.
DIY Projects to Save on Costs
DIY projects are a great way to cut costs while adding a personal touch. For example, I built steel-edged borders for under $200. Here’s how:
- Measure the area and purchase steel edging.
- Install the edging and secure it with stakes.
- Fill the borders with river rocks sourced from a local quarry.
Another budget-friendly idea is propagating plants. By taking cuttings from my salvia and spirea, I saved over $150 annually. I also repurposed old fence pickets into vertical planters, which added charm without costing a dime.
For those looking to add hardscape elements, consider sourcing materials like river rocks in bulk from local quarries. They’re often more affordable than big-box stores.
Designing a Small Yard for Maximum Impact
Small yards can pack a big punch with the right approach. Even in tight spaces, you can create a lush and functional outdoor area. By focusing on vertical solutions and flexible container options, you can maximize every inch of your patio or balcony.
Vertical Gardening to Save Space
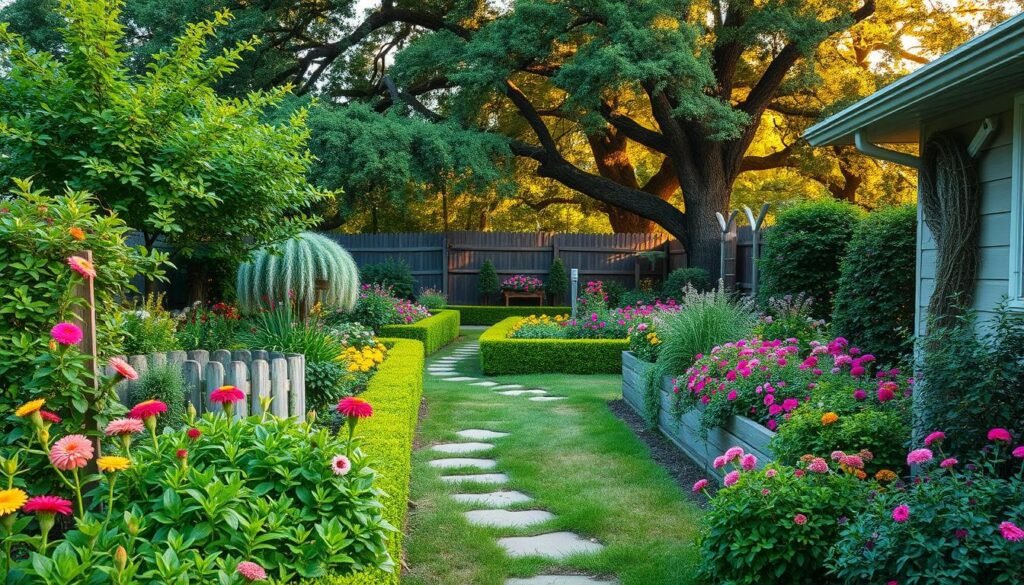
Vertical gardening is a game-changer for small yards. I transformed my balcony using 3-tiered planters filled with herbs and trailing lobelia. This not only saved space but also added a burst of color and texture.
Here are some of my favorite vertical gardening ideas:
- Magnetic wall planters: Perfect for renters, I experimented with succulents and air plants for a modern look.
- Hanging baskets: Ideal for flowers like petunias or fuchsias, they add charm without taking up floor space.
- Window boxes: Great for herbs or seasonal blooms, they brighten up any small area.
Using Potted Plants for Flexibility
Potted plants are a versatile solution for small yards. I love mixing container sizes to create depth in narrow side yards. For example, pairing large pots with smaller ones adds visual interest.
Here’s how I rotate seasonal displays:
- Spring: Fill pots with tulips and daffodils for a fresh start.
- Summer: Switch to vibrant geraniums and marigolds.
- Fall: Replace with mums and ornamental kale for autumnal charm.
For compact trees, I compared Japanese maple and hawthorn. Both are excellent for tight spaces, but Japanese maple’s vibrant foliage won me over.
With these tips, even the smallest yard can feel like a green oasis. It’s all about creativity and making the most of your space.
Incorporating Hardscape Elements into Your Design
Hardscape elements can transform your outdoor areas into functional and stylish spaces. From patios to walkways, these features add structure and durability to your yard. Choosing the right materials and designs ensures your hardscaping complements your overall vision.
Choosing the Right Materials for Patios and Walkways
When selecting materials for patios and walkways, consider both cost and durability. For my patio project, I compared flagstone and stamped concrete. Flagstone costs around $8 per square foot, while stamped concrete is slightly cheaper at $6 per square foot. Both options are durable, but flagstone offers a more natural look.
Here’s a quick comparison of popular materials:
| Material | Cost per Sqft | Durability |
|---|---|---|
| Flagstone | $8 | High |
| Stamped Concrete | $6 | High |
| Gravel | $3 | Moderate |
For walkways, I prefer crushed granite over pea gravel. It’s more stable and prevents erosion on slopes. River rocks are another great option, especially for areas with heavy foot traffic.
Adding Arbors and Pergolas for Structure
Arbors and pergolas add vertical interest and define outdoor spaces. I built a cedar arbor for under $300 using reclaimed wood. It’s a cost-effective way to add charm and structure to your yard.
For metal pergolas, weatherproofing is essential, especially in snowy climates. I recommend applying a protective coating to prevent rust. Integrating lighting, like solar post caps or low-voltage LEDs, can enhance the ambiance of these features.
“Hardscaping is the backbone of any well-structured outdoor space.”
By combining durable materials with thoughtful design, you can create hardscape elements that are both beautiful and functional. Whether it’s a patio, walkway, or arbor, these features will elevate your outdoor areas for years to come.
Softscape Ideas for a Lush, Green Yard
A lush, green yard starts with the right mix of plants and thoughtful planning. By combining shrubs, trees, and seasonal flowers, you can create a vibrant space that thrives year-round. Let’s explore how to select the right elements and design a garden that’s both beautiful and functional.
Selecting the Right Shrubs and Trees
Shrubs and trees are the backbone of any garden. I’ve found that layering plants—from canopy trees to ground cover—creates depth and texture. For example, pairing hawthorn trees with catmint and ornamental grasses ensures a balanced look.
Here are my top picks for shrubs and trees:
- Butterfly bush: Adds vibrant color and attracts pollinators.
- Knock-out roses: Low-maintenance and long-blooming.
- Japanese maple: Perfect for small spaces with stunning fall foliage.
For deer-resistant options, I recommend Russian sage and boxwood hedges. They’re hardy and add structure to your garden.
Creating Flower Beds for Seasonal Color
Flower beds are a great way to add pops of color throughout the year. I use a staggered planting technique to ensure blooms from spring to fall. For example, dianthus and crinum lilies return annually, providing reliable beauty.
Here’s my foolproof trio for continuous color:
- Catmint: Blooms from April to June.
- Knock-out roses: Flowers from May to October.
- Ornamental grasses: Adds texture and movement in late summer.
For shaded areas, hostas are a great choice. After a hailstorm, I revived mine with a nutrient spray made from compost tea and seaweed extract.
By carefully selecting shrubs, trees, and flowers, you can create a garden that’s lush, green, and full of life. Whether you’re a beginner or a seasoned gardener, these tips will help you achieve a vibrant outdoor space.
Landscaping for Different Climates
Adapting your outdoor space to different climates can be both challenging and rewarding. Whether you’re dealing with drought-prone regions or freezing winters, the right approach ensures your yard thrives year-round. Let’s explore how to tackle these unique challenges.
Designing for Drought-Prone Areas
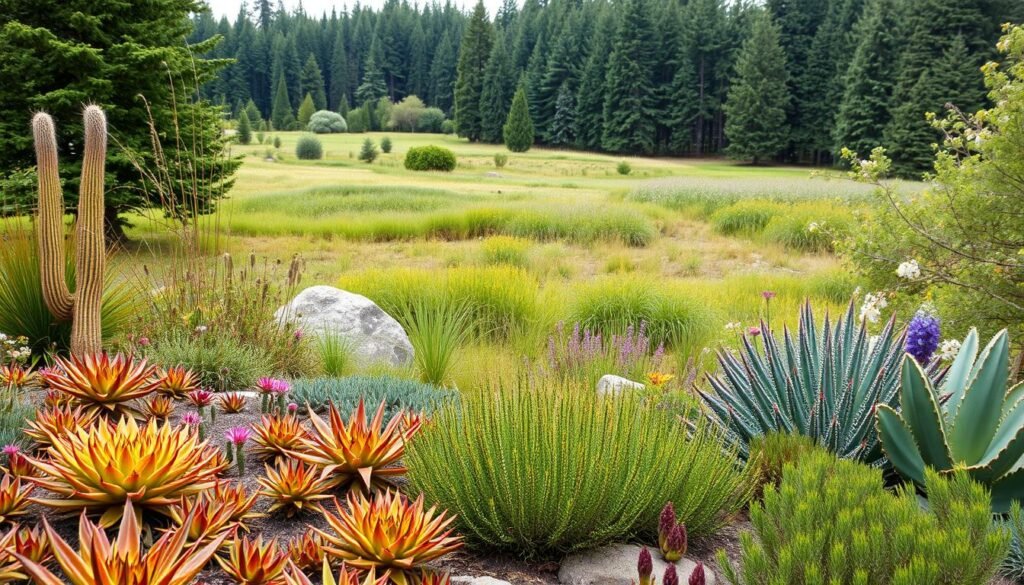
In areas with limited water, xeriscaping is a game-changer. My Colorado yard saw a 60% reduction in water usage after switching to drought-tolerant plants like Russian sage and salvia. These species are not only resilient but also add vibrant color to your area.
Here are some tips for drought-prone regions:
- Use native plants that are adapted to dry conditions.
- Incorporate mulch to retain moisture in the ground.
- Consider artificial turf alternatives for ultra-dry regions.
Choosing Plants for Cold-Weather Resilience
For colder climates, selecting hardy plants is crucial. In my yard, three ice-resistant evergreens survived -25°F winters: blue spruce, boxwood, and holly. These provide year-round greenery and structure.
Microclimate mapping is another effective strategy. By placing tender plants near south-facing walls, I’ve protected them from harsh winds and frost. Salt-tolerant varieties are also essential for coastal regions, as they withstand saline conditions better than inland species.
Whether you’re dealing with drought or cold, thoughtful design and plant selection can transform your outdoor space into a resilient and beautiful retreat.
Creating a Wildlife-Friendly Garden
Transforming my garden into a haven for wildlife has been one of the most rewarding projects I’ve undertaken. By incorporating native species and thoughtful features, I’ve created a space that supports local fauna while adding beauty and charm. Here’s how you can do the same.
Planting Flowers to Attract Pollinators
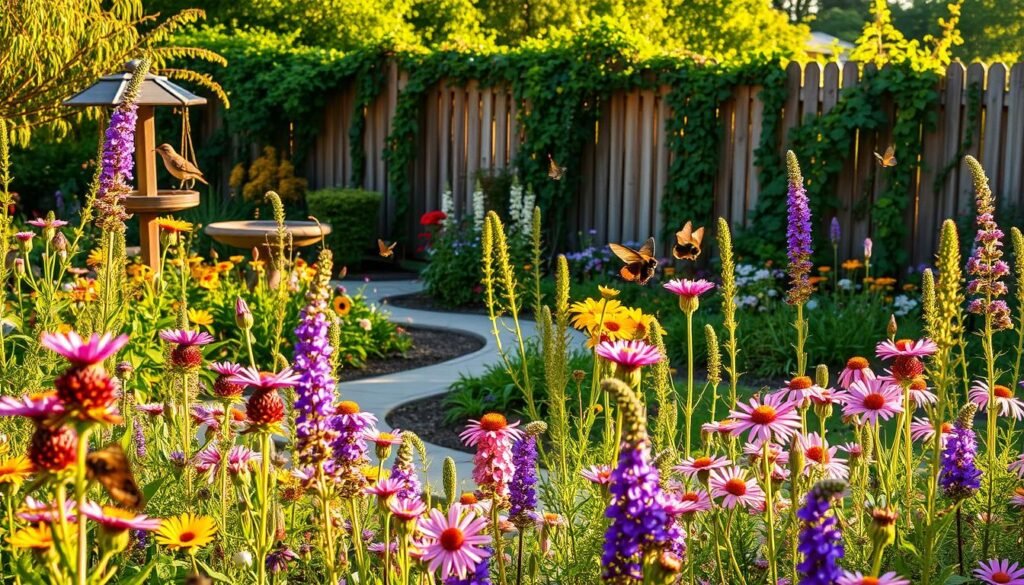
One of the first steps I took was planting flowers that attract pollinators like bees and butterflies. Native species like butterfly weed and milkweed are essential for monarch butterflies. I even went through the process of certifying my garden as a monarch waystation, which was a fulfilling experience.
Here are some of my favorite pollinator-friendly plants:
- Butterfly weed: A vibrant addition that supports monarchs.
- Milkweed: Essential for monarch caterpillars.
- Purple coneflower: Attracts bees and butterflies.
- Lavender: A fragrant favorite for pollinators.
I also added night-blooming plants like moonflowers to attract bats, which help control pests naturally.
Adding Bird Feeders and Baths
Birds bring life and energy to any garden. I installed a heated bird bath to provide water year-round, even in winter. However, I learned the hard way to avoid common installation mistakes, like placing it too close to windows or in direct sunlight.
Here’s how I made my garden bird-friendly:
- Installed a heated bird bath for winter use.
- Placed feeders with native seeds to attract local species.
- Added native berry bushes like serviceberry to provide food through the colder months.
I also repurposed old terra cotta pots to create a toad habitat, which has been a fun and eco-friendly addition.
By focusing on native plants and thoughtful features, my garden has become a thriving ecosystem. Whether you’re planting flowers for pollinators or adding bird baths, these small changes can make a big impact.
Using Color Theory in Landscape Design
Color plays a vital role in shaping the mood and appeal of any outdoor space. By understanding how to combine warm and cool tones, you can create a balanced and visually stunning garden. Let’s explore how to use color theory to enhance your outdoor areas.
Combining Warm and Cool Colors for Balance
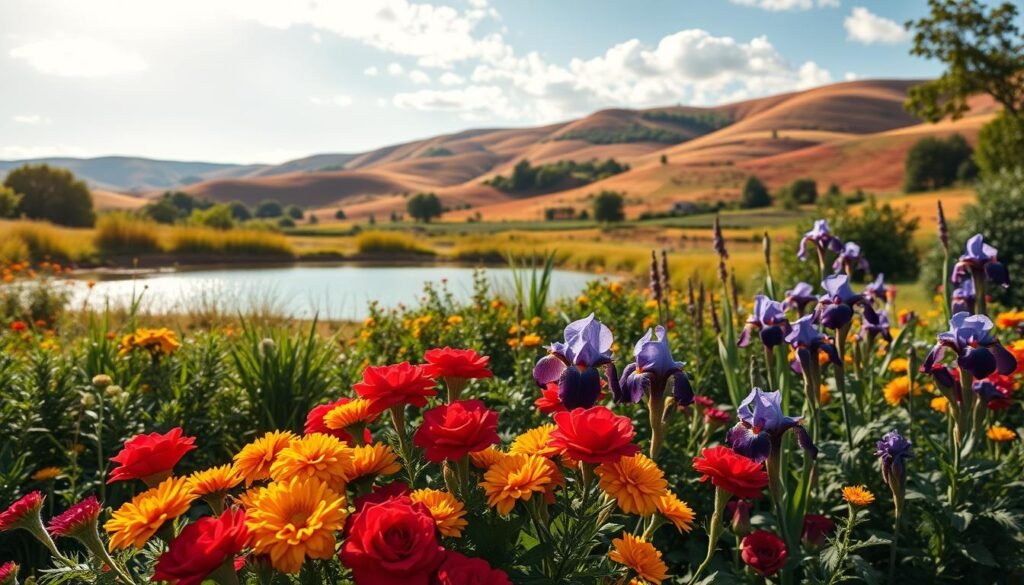
One of my favorite strategies is pairing warm and cool colors to create harmony. For example, I combined purple salvia with golden creeping Jenny in my garden. This contrast adds depth and keeps the space vibrant without overwhelming the eye.
White flowers act as “visual breathers” in dense plantings. I often use shasta daisies or white phlox to break up bold colors. Foliage textures, like ornamental grasses, also serve as neutral elements that tie everything together.
Creating Focal Points with Bold Colors
Bold colors can draw attention to specific areas of your garden. I love using fiery reds and oranges in the fall, transitioning from soft pastels in spring. Painting fences or sheds in complementary shades, like a muted blue, can also enhance your floral palette.
Here’s a quick guide to seasonal color transitions:
| Season | Color Scheme |
|---|---|
| Spring | Pastels (pink, lavender, soft yellow) |
| Summer | Vibrant hues (red, orange, purple) |
| Fall | Fiery tones (burgundy, gold, deep orange) |
By thoughtfully combining colors, you can create a garden that’s not only beautiful but also reflects your personal style.
Landscaping Ideas for Sloped Yards
Working with a sloped yard can be both challenging and rewarding. With the right techniques, you can turn a steep grade into a functional and beautiful space. From building terraces to planting erosion-resistant plants, there are many ways to make the most of your sloped area.
Building Terraces for Stability
One of the best ways to manage a sloped yard is by building terraces. For my project, I used railway ties to create a tiered retaining wall. This not only added stability but also created flat spaces for planting. However, I regret skipping the French drain installation behind the terraces. It’s a crucial step to prevent water buildup and ensure long-term durability.
Here’s a quick comparison of terrace materials:
| Material | Pros | Cons |
|---|---|---|
| Railway Ties | Affordable, sturdy | Requires maintenance |
| Natural Stone | Durable, aesthetic | Higher cost |
Planting Ground Cover to Prevent Erosion
Erosion is a common issue on slopes, but the right plants can help. I compared Vinca minor and creeping phlox for erosion control. Both are effective, but creeping phlox spreads faster and adds vibrant color in spring. For sunny slopes, I recommend drought-tolerant sedum varieties. They’re low-maintenance and thrive in dry conditions.
Here are my top picks for erosion-resistant plants:
- Vinca minor: Hardy and evergreen.
- Creeping phlox: Fast-spreading and colorful.
- Sedum: Drought-tolerant and low-maintenance.
“A well-designed sloped yard can be both functional and beautiful.”
Incorporating natural stone steps is another great way to navigate steep grades. They blend seamlessly with the surroundings and add a rustic charm. By combining terraces with the right plants, you can create a sloped yard that’s both stable and stunning.
Designing a Low-Maintenance Yard
Creating a low-maintenance yard has been a game-changer for my outdoor space. By focusing on smart choices and efficient systems, I’ve reduced the time and effort needed to keep my garden thriving. Let’s explore how you can achieve the same.
Choosing Drought-Tolerant Plants
One of the best ways to cut down on maintenance is by selecting drought-tolerant plants. These species require less water and care, making them perfect for busy homeowners. In my garden, I’ve had great success with Russian sage and sedum. Both are hardy and add vibrant color without constant attention.
Here’s a quick comparison of popular drought-tolerant options:
| Plant | Water Needs | Maintenance Level |
|---|---|---|
| Russian Sage | Low | Minimal |
| Sedum | Very Low | Low |
| Lavender | Low | Moderate |
For a low-water lawn alternative, I compared buffalo grass and clover. Buffalo grass is drought-resistant, while clover stays green with minimal watering. Both are excellent choices for reducing water usage.
Using Mulch to Reduce Weeds
Mulch is a lifesaver when it comes to weed control. I use a 3-layer system: cardboard, landscape fabric, and river rocks. This combination prevents weeds while retaining moisture in the soil. Compared to mulch, river rocks are more durable and require less frequent replacement.
Here’s how I set up my weed barrier:
- Lay down cardboard to smother existing weeds.
- Add landscape fabric to block new growth.
- Top with river rocks for a polished look.
For evergreen shrubs, I recommend boxwood and holly. These stay neat without pruning and provide year-round greenery.
By combining drought-tolerant plants with effective weed barriers, you can create a yard that’s both beautiful and easy to maintain. Whether you’re short on time or simply want a hassle-free garden, these tips will help you achieve your goals.
Incorporating Lighting into Your Landscape Design
Lighting can transform your outdoor space into a magical retreat. It not only enhances the beauty of your yard but also adds functionality, making it usable even after sunset. Whether you’re illuminating a patio or highlighting key features, the right lighting can elevate your outdoor area.
Using Solar Lights for Energy Efficiency
Solar lights are a cost-effective and eco-friendly option for your yard. Over a two-year period, I compared solar and hardwired lighting. Solar lights saved me over $100 in energy costs. They’re easy to install and require no wiring, making them perfect for pathways and garden borders.
Here’s a quick cost analysis:
- Solar Lights: $50 initial cost, no ongoing energy expenses.
- Hardwired Lights: $150 installation, $50 annual energy cost.
For a budget-friendly option, I recommend weatherproof solar fixtures under $50. They’re durable and add a polished look to your house.
Highlighting Key Features with Spotlights
Spotlights are ideal for drawing attention to specimen trees or architectural elements. I used uplighting techniques to highlight my Japanese maple. Placing the light at the base of the tree creates a dramatic effect, showcasing its vibrant foliage.
For a softer glow, try downward-facing LEDs. They mimic moonlight and create a serene atmosphere. I also integrated smart lighting with voice controls. It’s a convenient way to adjust brightness and schedules without stepping outside.
By combining solar lights with spotlights, you can create a well-lit and inviting outdoor space. Whether you’re hosting gatherings or enjoying a quiet evening, the right lighting makes all the difference.
Creating a Year-Round Garden
A year-round garden is a dream for many, and with the right plants, it’s entirely achievable. By carefully selecting species that thrive in different seasons, you can enjoy a vibrant outdoor space no matter the time of year. Let’s explore how to create a garden that’s always in bloom.
Selecting Plants for All Seasons
To ensure your garden looks stunning throughout the year, focus on plants that bloom or provide interest in each season. Here’s my go-to list for a four-season garden:
- Spring: Crocus and witch hazel are early bloomers that push through snow, adding the first splash of color.
- Summer: Day lilies and salvia thrive in the heat, offering vibrant hues and attracting pollinators.
- Fall: Ornamental grasses shine in frost, while red twig dogwood adds striking winter color.
- Winter: Holly berries and evergreen spirea provide year-round structure and beauty.
For tender perennials, I use homemade cloches to protect them from harsh weather. This simple trick ensures they return strong each spring.
Adding Evergreens for Winter Interest
Evergreens are the backbone of a winter garden. They provide structure and color when other plants are dormant. My favorites include:
- Boxwood: Its dense foliage stays green year-round, making it perfect for hedges or borders.
- Blue Spruce: This conifer adds a pop of icy blue and thrives in cold climates.
- Holly: Its glossy leaves and bright berries are a classic winter staple.
For a unique touch, I’ve planted winterberry, which produces vibrant red berries that last through the coldest months. Pairing it with red twig dogwood creates a stunning winter color formula.
“A well-planned garden is a gift that keeps on giving, no matter the season.”
By incorporating a mix of seasonal plants and evergreens, you can create a garden that’s beautiful and functional all year long. Whether you’re a beginner or an experienced gardener, these tips will help you achieve a year-round oasis.
Landscaping Ideas for Urban Spaces
Urban spaces often come with unique challenges, but they also offer creative opportunities for gardening. Whether you’re working with a small balcony or a compact patio, there are ways to maximize your area and create a green retreat.
Maximizing Small Balconies and Patios
When space is limited, vertical gardening is your best friend. I transformed my balcony using 3-tiered planters filled with herbs and trailing lobelia. This not only saved space but also added a burst of color and texture.
For noise reduction, consider vertical green walls. They not only dampen sound but also add a lush, calming vibe. I also experimented with movable planters to create rotating “rooms” on my patio. This allows me to change the layout based on the season or mood.
Here are some tips for small urban spaces:
- Use dwarf fruit trees like citrus or fig that thrive in 18-inch pots.
- Incorporate reflective surfaces like mirrors to amplify the sense of space.
- Check local regulations for fire escape gardening and choose safe, non-invasive plants.
Using Containers for Flexibility
Containers are a game-changer for urban gardening. They offer flexibility and can be moved to optimize sunlight or rearrange your space. I love using a mix of pot sizes to create depth and visual interest.
For herbs, I recommend basil, thyme, and rosemary. These are easy to grow and perfect for small containers. If you’re short on time, opt for low-maintenance succulents or air plants.
Here’s how I rotate my container displays:
- Spring: Fill pots with tulips and daffodils for a fresh start.
- Summer: Switch to vibrant geraniums and marigolds.
- Fall: Replace with mums and ornamental kale for autumnal charm.
By combining vertical solutions with flexible containers, you can turn even the smallest urban space into a thriving green oasis.
Incorporating Edible Plants into Your Landscape
Incorporating edible plants into your outdoor space is a rewarding way to blend beauty with practicality. Not only do they provide fresh produce, but they also add texture and color to your garden. Whether you’re a seasoned gardener or just starting, growing herbs and vegetables can transform your yard into a functional and vibrant oasis.
Growing Herbs and Vegetables in Your Yard
One of my favorite projects was creating an edible border in my front yard. I planted artichokes and rainbow chard, which added both visual interest and fresh ingredients to my kitchen. Companion planting is another great strategy. For example, pairing marigolds with tomatoes not only deters pests but also creates a stunning contrast of flowers and foliage.
Here are some tips for growing edibles:
- Use raised beds for better soil control and drainage.
- Choose dwarf berry varieties for container harvesting.
- Integrate fruit trees like dwarf citrus into ornamental beds.
Designing a Functional Kitchen Garden
A kitchen garden is all about accessibility and efficiency. I built a decorative herb spiral using reclaimed materials, which not only saves space but also creates a focal point. Raised beds are another excellent option, especially for small areas. They allow you to grow a variety of plants while keeping the design neat and organized.
Here’s how I set up my kitchen garden:
- Plan the layout to ensure easy access to herbs and vegetables.
- Use vertical structures like trellises for climbing plants.
- Incorporate pathways for maintenance and harvesting.
By blending aesthetics with functionality, you can create a garden that’s both beautiful and productive. Whether you’re planting herbs, vegetables, or fruit trees, these tips will help you make the most of your outdoor space.
Conclusion
Over the years, I’ve learned that small changes can make a big difference in any outdoor space. From choosing the right plants to adding decorative borders, every step has brought me closer to a yard I love. Consistency is key—whether it’s planting perennials or maintaining a weed barrier, small efforts add up over time.
I’d love to hear about your journey! Share your border design photos in the comments below. Let’s inspire each other with fresh ideas and creative solutions. Stay tuned for my upcoming post on 2025 outdoor trends—there’s so much to look forward to!
If you have questions or need personalized advice, don’t hesitate to ask. Remember, a beautiful yard isn’t built in a day. It’s the result of consistent care and thoughtful choices. Happy gardening!
FAQ
How can I improve my front yard’s curb appeal?
I focus on choosing the right plants and adding decorative borders. This creates a polished look that makes my home stand out.
What are some low-maintenance backyard ideas?
I use native plants and incorporate water features. These elements add tranquility while reducing upkeep.
How can I landscape on a budget?
I opt for perennials over annuals and take on DIY projects. This saves money while still creating a beautiful outdoor space.
What’s the best way to design a small yard?
I use vertical gardening and potted plants. These techniques maximize space and offer flexibility.
How do I choose materials for patios and walkways?
I consider durability and style. Stone or pavers work well for a timeless look.
What plants are best for seasonal color?
I create flower beds with a mix of perennials and annuals. This ensures vibrant colors throughout the year.
How do I design for drought-prone areas?
I choose drought-tolerant plants and use mulch. This conserves water and keeps my yard looking great.
How can I attract pollinators to my garden?
I plant flowers like lavender and coneflowers. Adding bird feeders and baths also helps attract wildlife.
What’s the best way to use color in my yard?
I combine warm and cool colors for balance. Bold colors like red or purple create stunning focal points.
How do I landscape a sloped yard?
I build terraces for stability and plant ground cover. This prevents erosion and adds visual interest.
What’s the key to a low-maintenance yard?
I choose drought-tolerant plants and use mulch. This reduces weeds and watering needs.
How can I incorporate lighting into my yard?
I use solar lights for energy efficiency and spotlights to highlight key features. This adds ambiance and functionality.
How do I create a year-round garden?
I select plants that thrive in all seasons and add evergreens. This keeps my yard lively even in winter.
What are some ideas for urban spaces?
I maximize small balconies and patios with containers. This offers flexibility and style in limited areas.
How can I incorporate edible plants into my yard?
I grow herbs and vegetables in designated areas. Designing a functional kitchen garden is both practical and rewarding.
